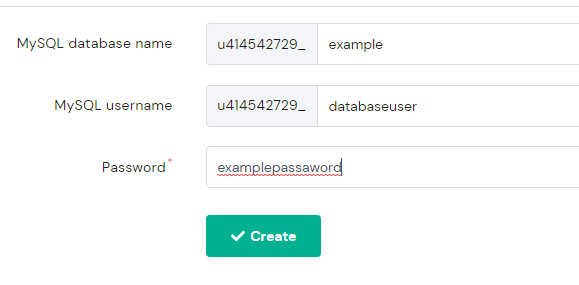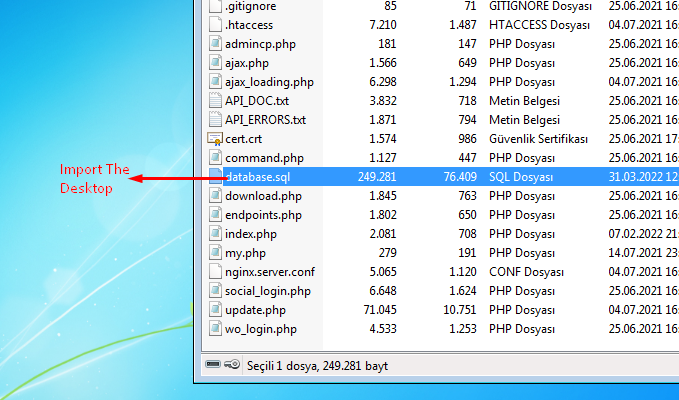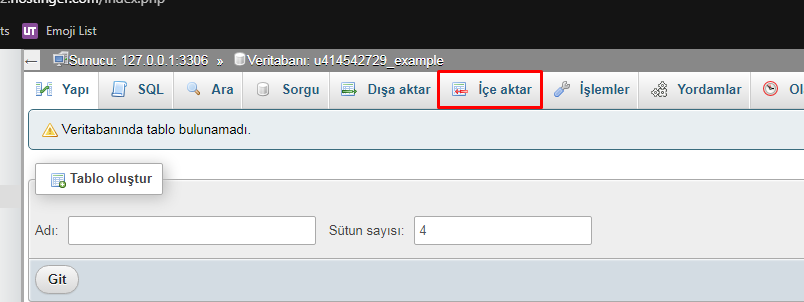
-
How to Install PixelPhoto (1.0 - v1.5 any version)
- PixelPhoto - The Ultimate Image Sharing & Photo Social Network Platform v1.6
- Pixelgram v1.6 - The Ultimate PixelPhoto Theme
yusufkonuk changed their profile photo- How to Install PixelPhoto (1.0 - v1.5 any version)
- How to Install PixelPhoto (1.0 - v1.5 any version)
- How to Install PixelPhoto (1.0 - v1.5 any version)
- How to Install PixelPhoto (1.0 - v1.5 any version)
- Pixelgram v1.6 - The Ultimate PixelPhoto Theme
yusufkonuk started following Abdullah Gök- PixelPhoto - The Ultimate Image Sharing & Photo Social Network Platform v1.6
- PixelPhoto - The Ultimate Image Sharing & Photo Social Network Platform v1.6
Back to topAccount
Navigation
Search
Configure browser push notifications
Chrome (Android)
- Tap the lock icon next to the address bar.
- Tap Permissions → Notifications.
- Adjust your preference.
Chrome (Desktop)
- Click the padlock icon in the address bar.
- Select Site settings.
- Find Notifications and adjust your preference.
Safari (iOS 16.4+)
- Ensure the site is installed via Add to Home Screen.
- Open Settings App → Notifications.
- Find your app name and adjust your preference.
Safari (macOS)
- Go to Safari → Preferences.
- Click the Websites tab.
- Select Notifications in the sidebar.
- Find this website and adjust your preference.
Edge (Android)
- Tap the lock icon next to the address bar.
- Tap Permissions.
- Find Notifications and adjust your preference.
Edge (Desktop)
- Click the padlock icon in the address bar.
- Click Permissions for this site.
- Find Notifications and adjust your preference.
Firefox (Android)
- Go to Settings → Site permissions.
- Tap Notifications.
- Find this site in the list and adjust your preference.
Firefox (Desktop)
- Open Firefox Settings.
- Search for Notifications.
- Find this site in the list and adjust your preference.
- PixelPhoto - The Ultimate Image Sharing & Photo Social Network Platform v1.6


