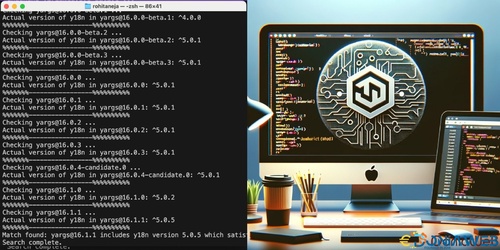
NPM Version Finder is a Node.js script automates the task of identifying versions of an npm package that contain a specified dependency at or above a given version. It streamlines the process of tracking and updating dependencies within your projects, ensuring compatibility and aiding in efficient dependency management.
This Node.js script is designed as a utility tool for developers working with npm packages, particularly those who need to manage and track dependencies across different project environments. The primary function of the script is to automate the search for specific versions of an npm package that include a designated dependency at a certain version or higher. This is especially useful in scenarios where project compatibility with dependencies is crucial.
When dealing with numerous packages and dependencies, it can be challenging to manually check which versions of a package are compatible with a particular version of a dependency. This script simplifies this process by programmatically scanning through the versions of a specified npm package and identifying the ones that meet or exceed the version requirements of a given dependency.
Ideal for use in continuous integration pipelines, or as part of a larger dependency management strategy, this script offers a time-efficient and reliable way to maintain up-to-date and compatible dependencies within your npm-based projects. It's a practical solution for developers looking to streamline their dependency update process and ensure project integrity with minimal manual intervention.
Features
- Time-Saving Utility
- Dependency Version Tracking
- Console Logs for all steps
- Simple CLI
- Range Specifier Support
Requirements
- Node.js
- npm
- Command Line Interface
- Basic JavaScript
- Git
Instructions
Step 1: Install Node.js and npm
- Ensure Node.js is installed on your system. If not, download and install it from the Node.js official website.
- npm (Node Package Manager) is included with Node.js.
Step 2: Install the semver Package
- Open a terminal or command prompt.
- Navigate to the directory where you will place the script.
- Run npm install semver to install the semver package necessary for version comparisons.
Step 3: Place the Script in Your Project Directory
- Ensure the script file (e.g., npm_version_finder.js) is saved in your desired directory.
Step 4: Run the Script
- In the terminal or command prompt, navigate to the directory containing the script.
- Execute the script using Node.js, following this command structure:node npm_version_finder.js @target-version>@current-version>
-
- Replace with the npm package and its current version.@current-version>
- Replace with the dependency name and the minimum required version.@target-version>
- For example:node npm_version_finder.js mochawesome-report-generator@3.1.5 yargs@16.1.
Step 5: Interpret the Output
- The script will output the first version of the specified package that meets or exceeds the dependency version criteria.
- Review the terminal output to find the matching version.
Step 6: Troubleshooting
- If you encounter any issues, verify that Node.js and npm are correctly installed and that the semver package is present in your project directory.
- Ensure you're using the correct package and dependency names along with their respective versions.
Additional Notes
- An active internet connection is required for the script to fetch package data from the npm registry.
- Familiarity with basic JavaScript might be beneficial for troubleshooting or modifying the script.


You may only provide a review once you have downloaded the file.
There are no reviews to display.