

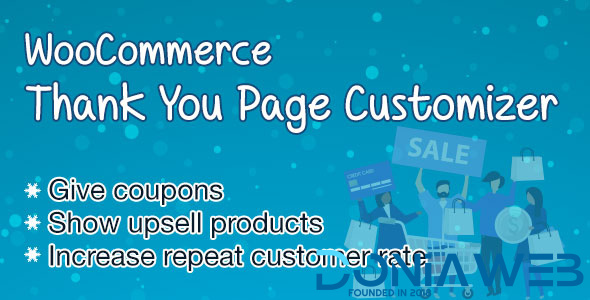
WooCommerce Thank You Page Customizer allows you to customize your “Thank You” page what give coupons to customers and show upsell products after a successful order.
WooCommerce Thank You Page Customizer will give a coupon after a successful order. You can choose to give an existing coupon or let the plugin generate unique coupons.
Coupon rules: Each coupon will have its own rules. Configure these rules to give different coupons for different orders.
Minimum order total: The coupon will be given if the order total is bigger than this amount.
Maximum order total: The coupon will be given if the order total is smaller than this amount.
Include products: The coupon will be given if the order includes these products.
Exclude products: The coupon will not be given if the order includes these products.
Include categories: The coupon will be given if the order includes products in selected categories.
Exclude categories: The coupon will not be given if the order includes products in selected categories.
Existing Coupon: Choose an existing WooCommerce Coupon to give to customers after they successful order an order.
Select WooCommerce coupon: Create a coupon in WooCommerce/ Coupon and use in Thank You Page Customizer.
Email restriction: Make the coupon be usable on with the billing email address.
Unique Coupon: The plugin will generate unique coupons for each order and display it on the Thank You page. You can set up the generated coupon with options same with WooCommerce coupons.
Email restriction: Make the coupon be usable with the billing email only.
Discount type: Select the coupon discount type percentage discount, fixed cart discount and fixed product discount.
Coupon code prefix: Type in the coupon code prefix.
Coupon amount: The amount of the coupon you will give.
Allow free shipping: Select if this coupon grants free shipping.
Expires after: Select the usable time of the coupon.
Individual use only: Choose if the coupon can be used in conjunction with other coupons.
Exclude sale items: Choose if the coupon can be used on sale items.
Usage limit per coupon: How many times a coupon can be used by all customers before being invalid.
Limit usage to X items: How many items the coupon can be applied to before being invalid.
Usage limit per user: How many times a coupon can be used by each customer before being invalid for that customer.
Design
The plugin allows you to drag and drop elements to build your own Thank You page.
Preview: You can select an order to preview your design on front-end.
Drag & Drop: drag and drop element to build the Thank you page as you want. Elements include the Thank you message, Order Confirmation, Order details, Customer information, Social icons, Coupon codes, Google map, text…
Custom CSS: The plugin provides a Custom CSS option allow you to add your own CSS code to change the front-end style of the plugin.
Element Design: Each element has its own design page which allows you to change that element front-end style.
.thumb.png.38fb377538dc5846ada9048c026de5e4.png)

.thumb.png.54f16dc591b4052caa5792506bf524ac.png)


ForWordPress.thumb.jpg.e23b7d7c2f9517ce78b059a7d47c1744.jpg)


Join the conversation
You can post now and register later. If you have an account, sign in now to post with your account.